Wedding photographers spend a lot of time shooting in low light. Auto ISO is a godsend in tricky conditions
Why is Auto ISO Useful?
The average wedding barn or church is not evenly lit. Usually it will have pools of quite decent light near the windows or under big lights and areas that are very dark in the corners. In this sort of situation you have a few choices. You could set the iso for the dark areas and let the shutter speed up for the brighter areas. Alternatively, you could re-set the ISO as you go, aware that you might miss moments. Lastly you could set a moderate ISO and attach a flash to the camera, so it works as a fill in the brighter areas and a main light in the darker ones.
All of these settings have their disadvantages. Setting a ‘safe’ but high ISO means that you are compromising image quality in the brighter areas of the room. Adjusting ISO on the fly can be demanding and it’s easy to get caught out when things are moving quickly, for example when the bride and groom move outdoors after the ceremony. Flash works well if it is used cleverly. However, lots of venues ban flash at key parts of the wedding so it isn’t a total solution. You could use two cameras, but it would be better to set up two cameras with long and wide lenses with a setting that could be used in bright and dark areas, rather than have a camera for the dark areas and a another for the brighter ones. Auto ISO offers a solution to all these problems, but how do you set it up?
Setting up your camera
When I first encountered auto ISO with my Canon 5d markII I wasn’t a fan. There was no customisation so the camera automatically set the shutter speed at the equivalent to the focal length. So a 35mm lens would shoot at 1/30 before the ISO would go up. This was impractical for subjects that move, and only really useful with longer lenses where it would default at 1/125 or 1/250. It was an absolute pain to use with a standard zoom. Everything changed with the next generation of Canon cameras. Finally, you could customise your settings and get the most out of this feature.
Most cameras will have a menu for their ISO settings. Somewhere there will be an option to set your minimum shutter speed. For a wedding 1/125 should be a safe shutter speed for most things. It’s quick enough to freeze walking and gestures, and fine for handholding anything up to a 135mm without image stabilisation. This will be your slowest shutter speed before your ISO will move up.
Next set the camera to aperture priority. Choose your working aperture. I usually work mainly at f4 or f2.8, but with low light I will stretch that a bit depending on what I am shooting. Set up like this, your camera will default to 1/125 f2.8 in a dimily lit room and the ISO will climb and fall to alter exposure.
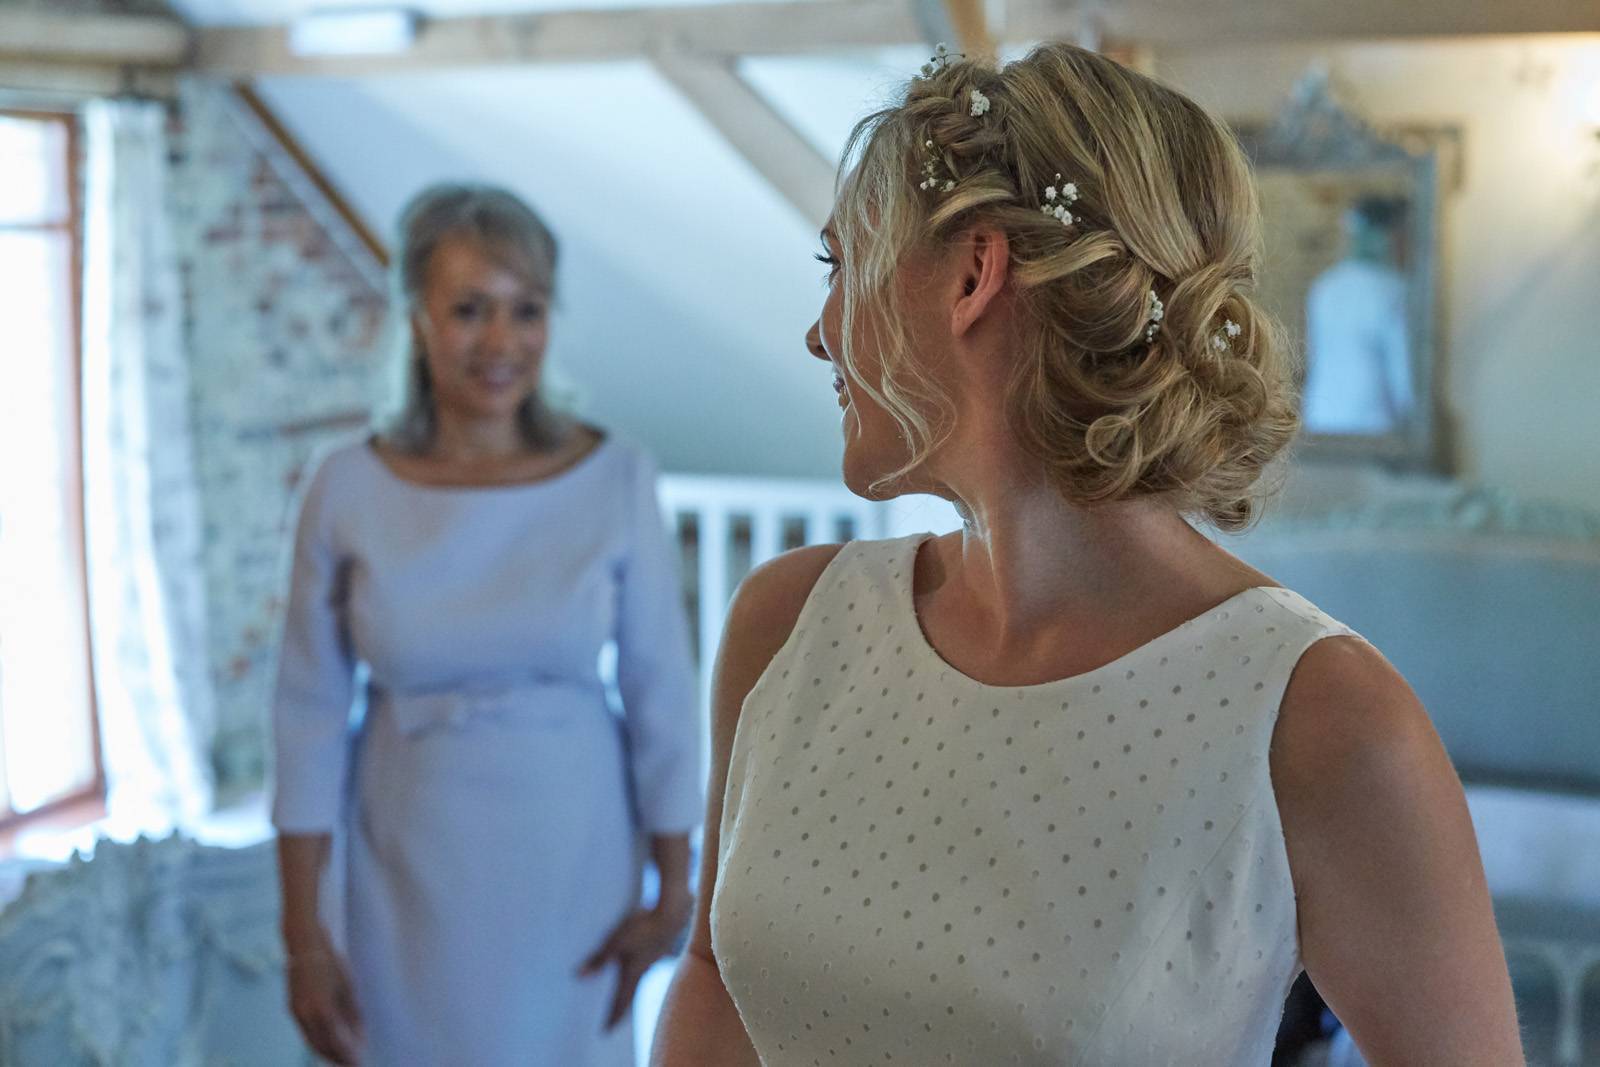
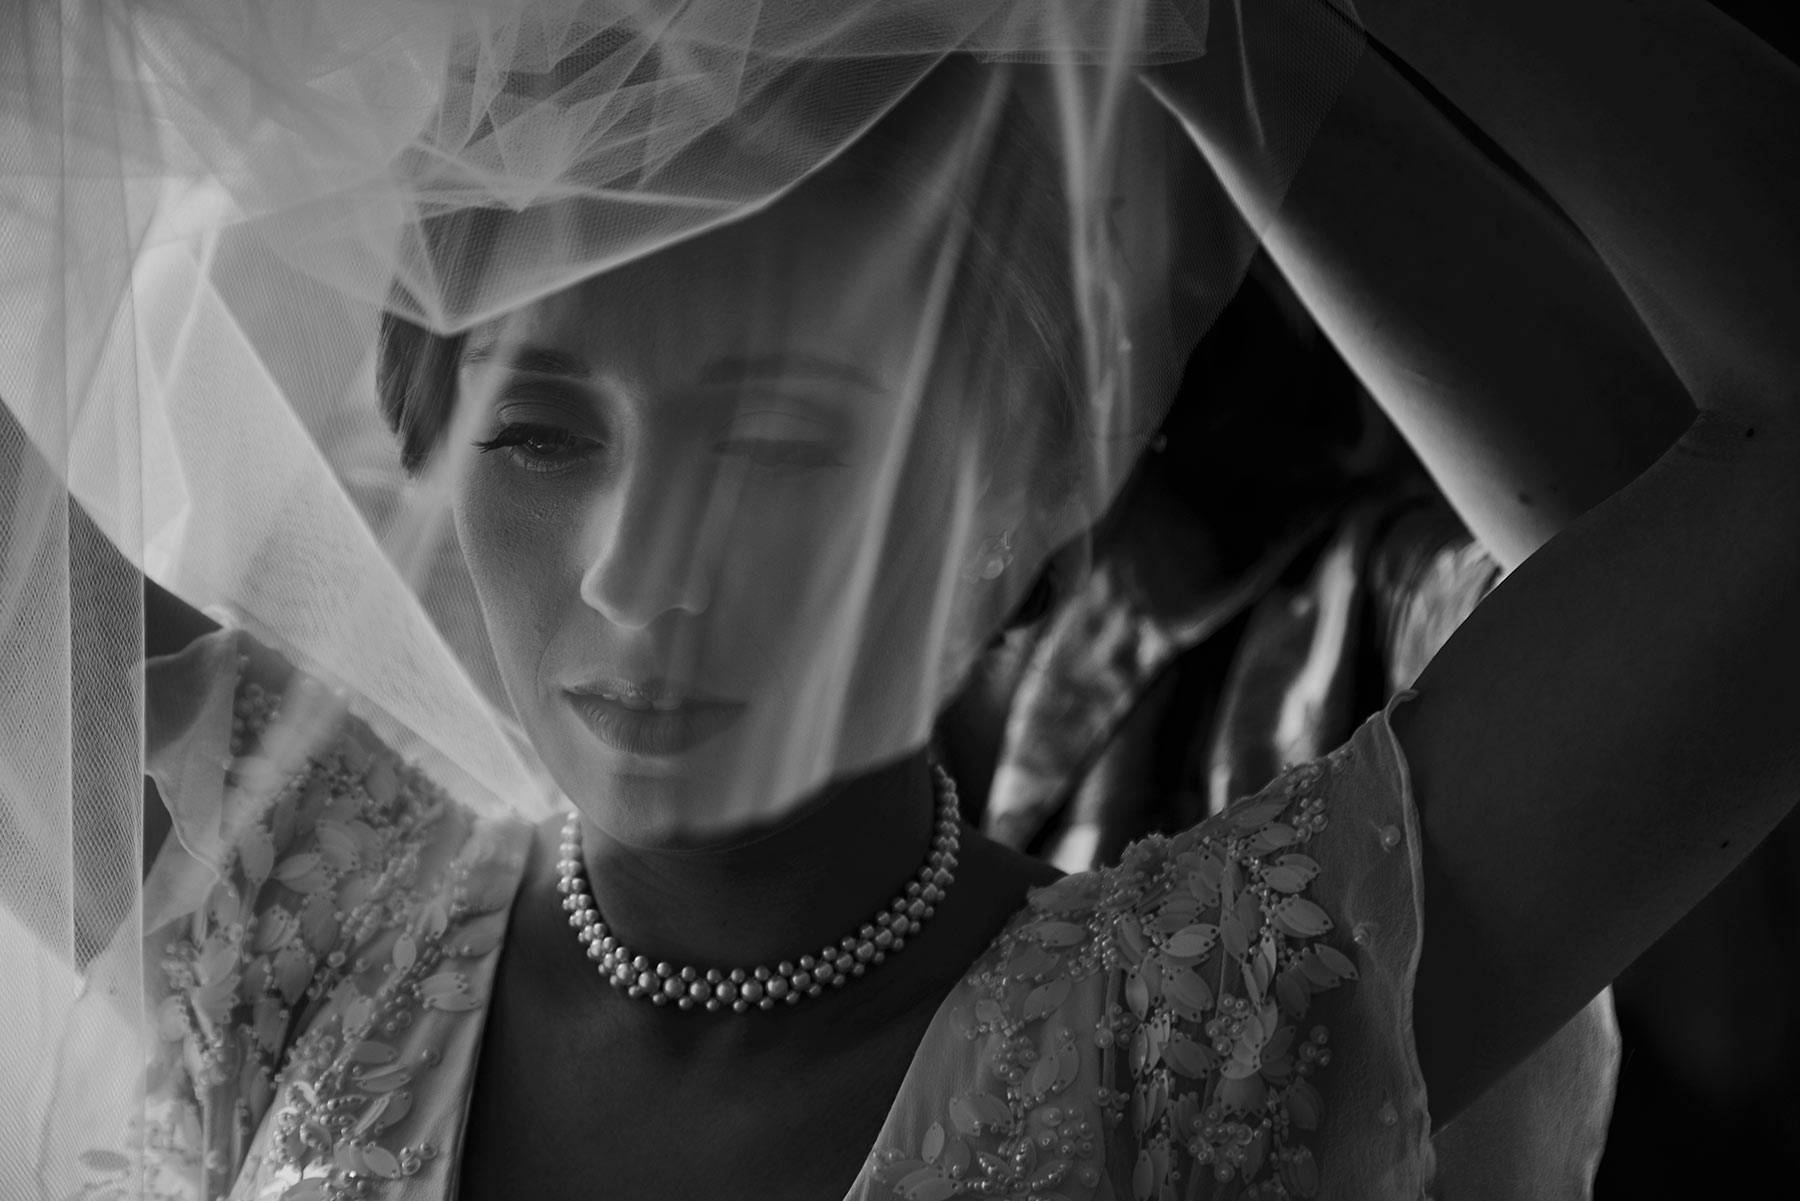
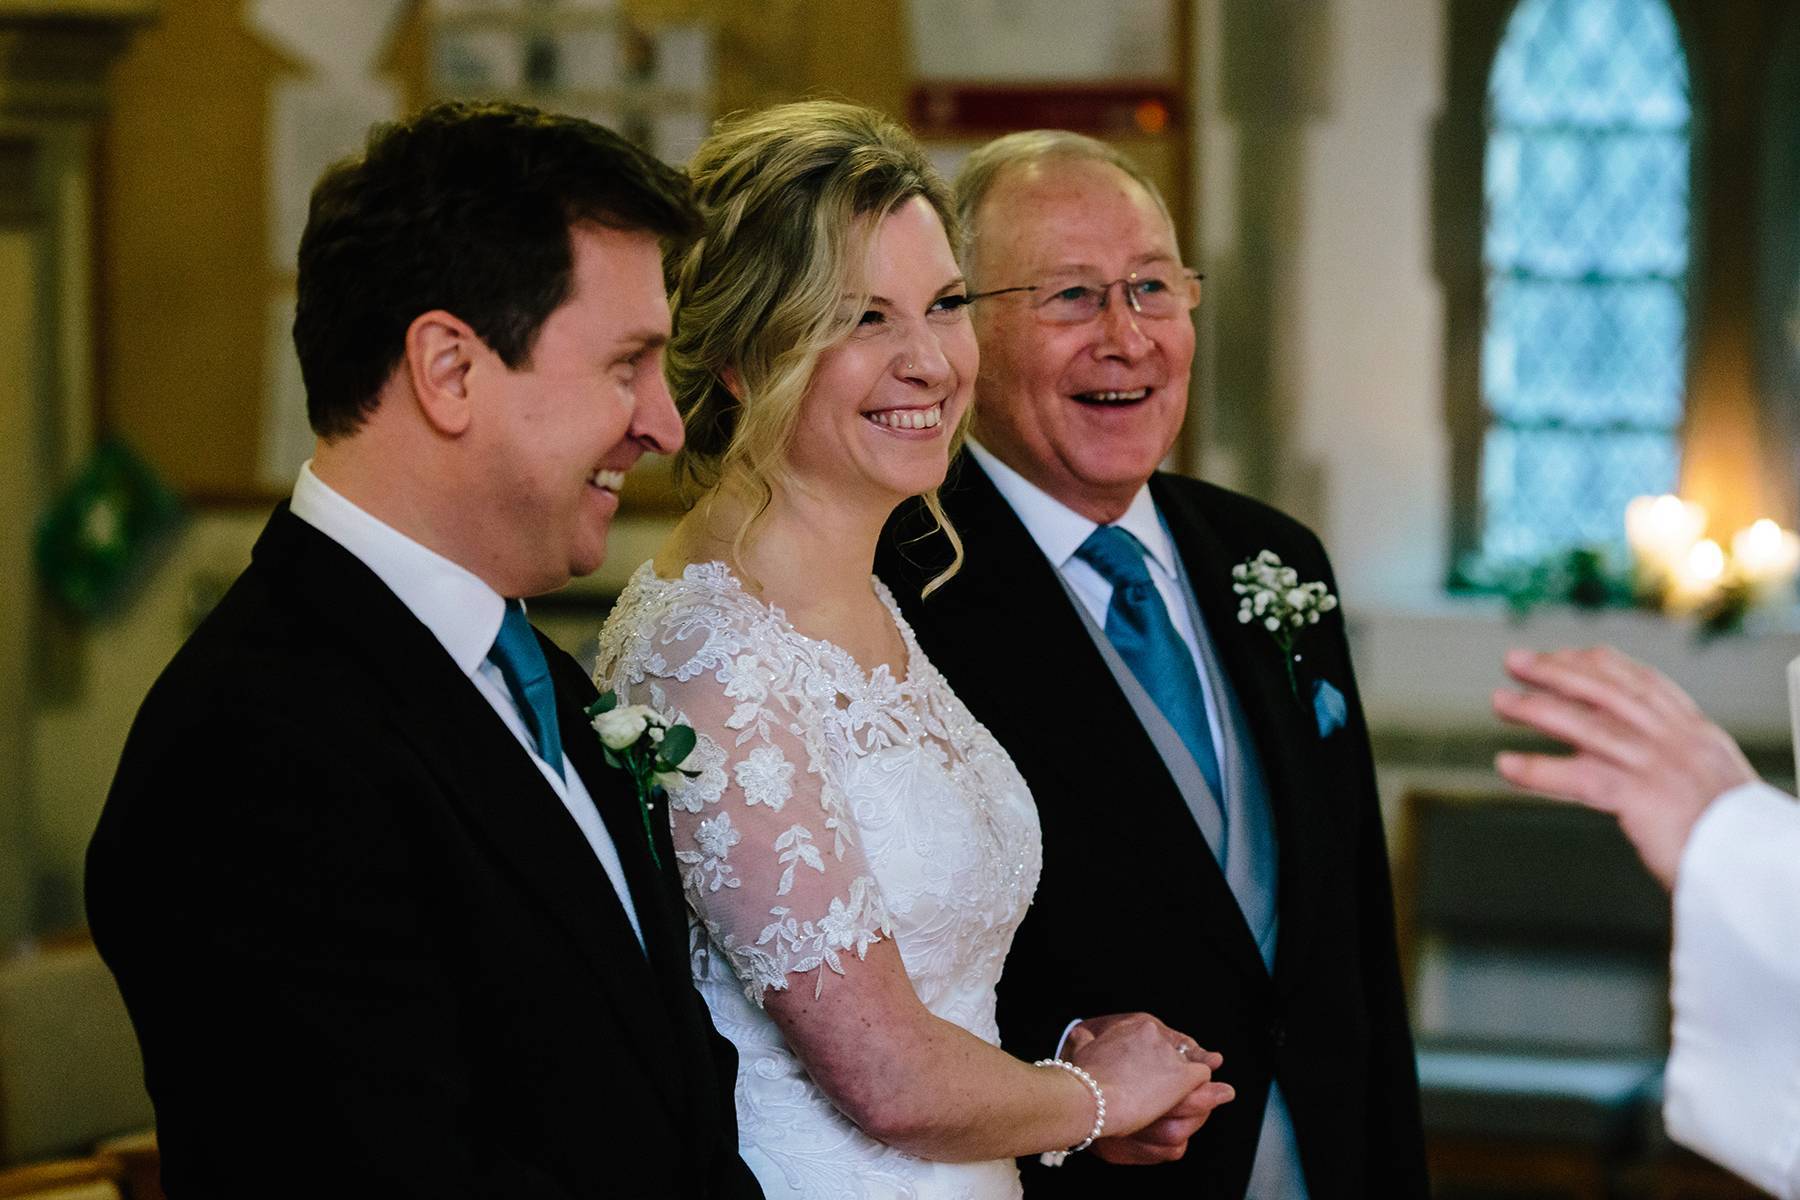
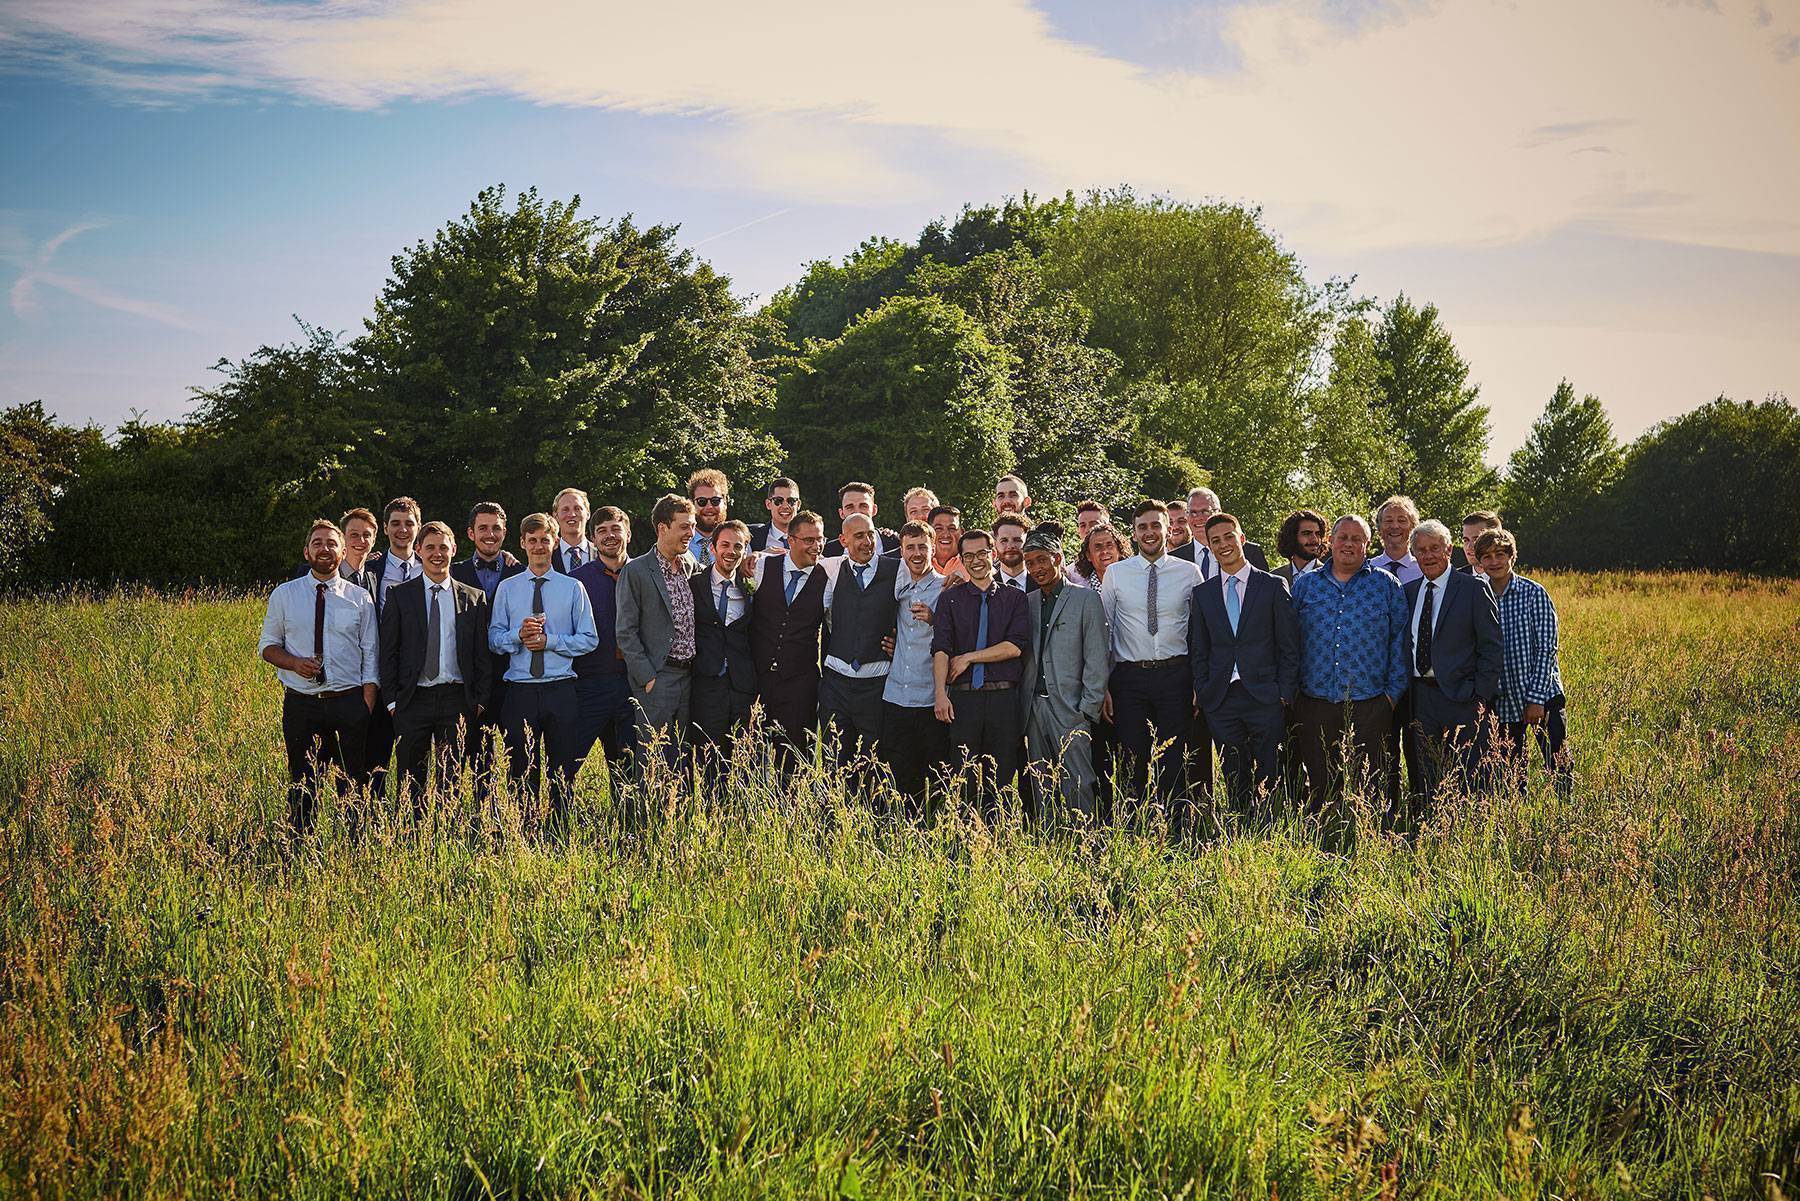
Examples
Conclusions and Caveats
In fast moving situations like weddings some form of automated exposure is essential. However, that doesn’t mean that you shouldn’t pay attention to what your camera is doing. Always regularly check to see that the light hasn’t dropped beyond what you can handle. If the light drops to the point where you need use flash, remember that Auto ISO is disabled with some cameras. The ISO will default to 400, which will be too low for very low light situations. If you turn your flash on, you need to set a manual ISO.
In low light photography the name of the game is to never let your shutter speed creep up. Therefore, it is better lower the ISO instead in most cases. That is what auto ISO is perfect for. There are many situations in weddings where the light is less than ideal, so it is essential to master this skill.
Toby
Wedding Photographer in Sussex and Hampshire