
I have used information on the Large Format Forum homepage to help me with this article. This article is intended as a practical ‘how to’ but if you would like to know the technical details used to come up with the F stop calculator visit https://www.largeformatphotography.info/fstop.html
Large format photographers, especially landscape photographers tend to stop down their lenses a lot. Most of my photographs are taken at F22 and smaller. In larger formats like 4×5 depth of field is very shallow indeed at what would be considered normal apertures in full frame digital cameras. So any picture that requires significant depth of field will need to be shot at a small aperture.
However, anyone familiar with the exposure triangle will realise that shooting a small apertures has a number of drawbacks. Small apertures mean slow shutter speeds, faster film and in duller conditions compensating for reciprocity failure which means extending shutter times even further. On top of this large format lenses tend to be diffraction limited after F22 so ideally you don’t want to stop down any further that you have to.
Luckily there is a simple way to calculate which aperture you need and all you need is this simple table and a short ruler or the millimetre scale on your camera.
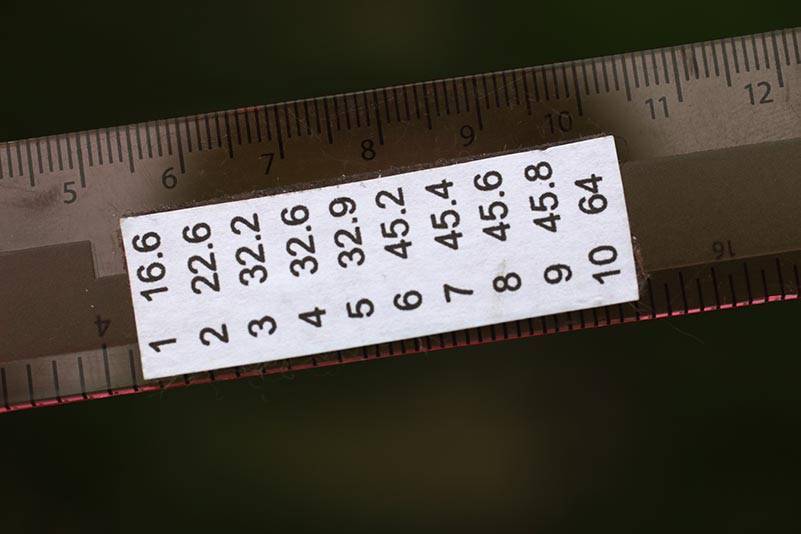
| Distance (mm) | F-Stop |
| 1 | 16.6 |
| 2 | 22.6 |
| 3 | 32.2 |
| 4 | 32.6 |
| 5 | 32.9 |
| 6 | 45.2 |
| 7 | 45.4 |
| 8 | 45.6 |
| 9 | 45.8 |
| 10 | 64 |
How to Use this Table
- Compose your picture in the normal way
- Once your picture is set up, use tilt or swing as necessary to get as much of the picture in focus as you can.
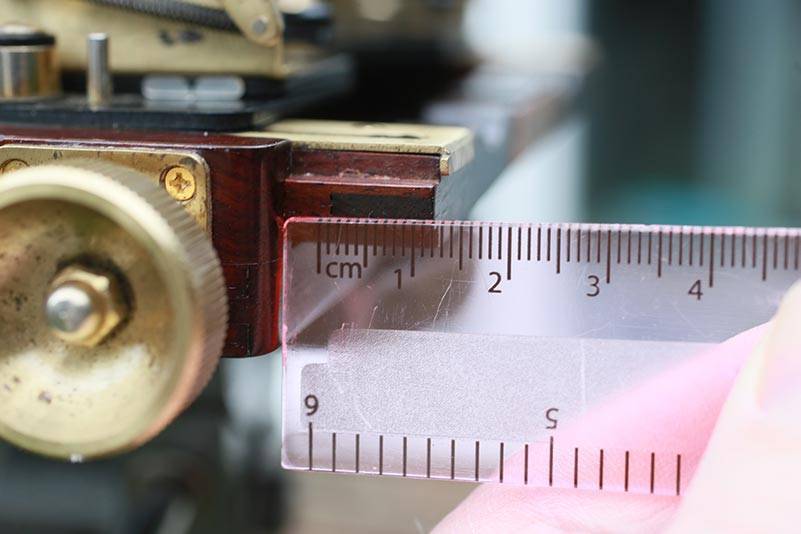
- Then focus on the far focus point and take a measurement. The easiest place to do this is where the focus bed sticks out from the frame of the camera.
- Now focus on the near point in the frame and make a note of the difference between the two measurements. This is the value ‘D’ in the table. The corresponding F-stop is the one you should use to get everything between those two points in focus.
- Now set the focus half way between the near-far focus points and you are good to go!
Main benefits of using the F-stop calculator
- All your focusing can be done with the lens wide open – no more struggling to see the ground glass screen when the lens is set to F32
- You won’t have to close down the lens anymore than you have to – maximising image quality.
- Using the widest possible apertures minimises the chance of motion blur and can avoid reciprocity failure in low light.